A Beginner’s Guide to Starting an Online Trade-In Program

Cullin McGrath
Chief Executive Officer

If trade-ins already work well at your store, offering them online is a practical way to reach people who may never visit. The core work is familiar. Your team already knows what to buy, how to inspect it, and what each condition is worth.
The difference is that an online trade-in program has to guide customers without someone standing beside them. At the counter, your staff can clarify a condition question, check the item immediately, and explain why an offer changed.
Online customers complete the first part on their own. They select the product, describe its condition, and decide whether to continue based on your store's estimated offer. Your team may not see the actual item until it arrives by mail or the customer drops it off in-store. Until then, the estimated offer depends largely on the information the customer provides online.
In online trade-ins, a vague question can produce an inaccurate estimated offer, and missing shipping instructions can delay a package. Your staff may also spend a lot of time answering status questions when customers cannot see what is happening with their trade-in.
The good news is you don't have to build every part of the online workflow or manually connect several tools. A dedicated trade-in platform like Reusely can help keep customer submissions, pricing, shipping, inspections, estimated and final offers, payouts, and inventory connected in one process.
The software handles the infrastructure, but your business still needs to decide how the online trade-in program should work. You need to choose what products to accept, how to price them, how customers will send or drop off their items, how inspections will work, and what happens to the inventory you acquire.
The following six steps can help you plan those decisions.
Choose Products
Every product you accept online needs enough information for customers to identify it correctly, describe its condition, and receive an appropriate estimated offer.
You don't need a completely different workflow for every product. Still, every product category you accept should have clear identification details, condition and pricing rules, and a plan for what happens after your business acquires the item.
Start with products your team handles often. Familiar products are easier to price and grade, and your team already knows which problems affect resale value.
If you run a phone repair shop, start with recent iPhones before adding older models, tablets, laptops, or unfamiliar brands.
Before adding a category to the online trade-in program, confirm that:
Customers can identify the model and important specifications without assistance
Your team can describe acceptable conditions using clear questions or photos
Shipping and repair costs still leave enough room for margin
The business has a reliable resale, wholesale, parts, or recycling outlet
A smaller catalog is easier to manage during the first few months. It also gives you time to see which questions customers misunderstand and which items create the most pricing exceptions. Add more products once the first workflow runs consistently.
Set Consistent Trade-In Prices
At the counter, an experienced staff member can inspect the item, ask follow-up questions, and adjust the value on the spot. Online, your business must provide an estimated offer before the item is physically inspected, so pricing rules need to be clear and consistent.
Build the Estimated Offer
Start with the resale value you can realistically expect, then account for refurbishment, shipping, payout, handling costs, and the margin your business needs.
Product specifications should also affect the estimate. For example, an iPhone 15 with 128 GB of storage should not receive the same estimated offer as the 256 GB version.
Define How Condition Affects Value
Your online form should collect the same information your staff would check at the counter. A cracked screen, weak battery, damaged camera, activation lock, or other condition issue may change the device's value.
Use clear condition questions and predictable pricing adjustments. Customers should also understand that the first amount they see is an estimated offer. Your team confirms the model, specifications, functionality, and condition during inspection before issuing the final offer.
Set an Estimated Offer Validity Period
Trade-in values change with the resale market, especially for fast-moving products. Review your pricing regularly and decide how long each estimated offer remains valid.
Show the expiration date clearly so customers know how long they have to mail or bring in the item. If the validity period expires, let them know they may need a new estimated offer to continue the trade-in.
Build a Clear Online Trade-In Experience
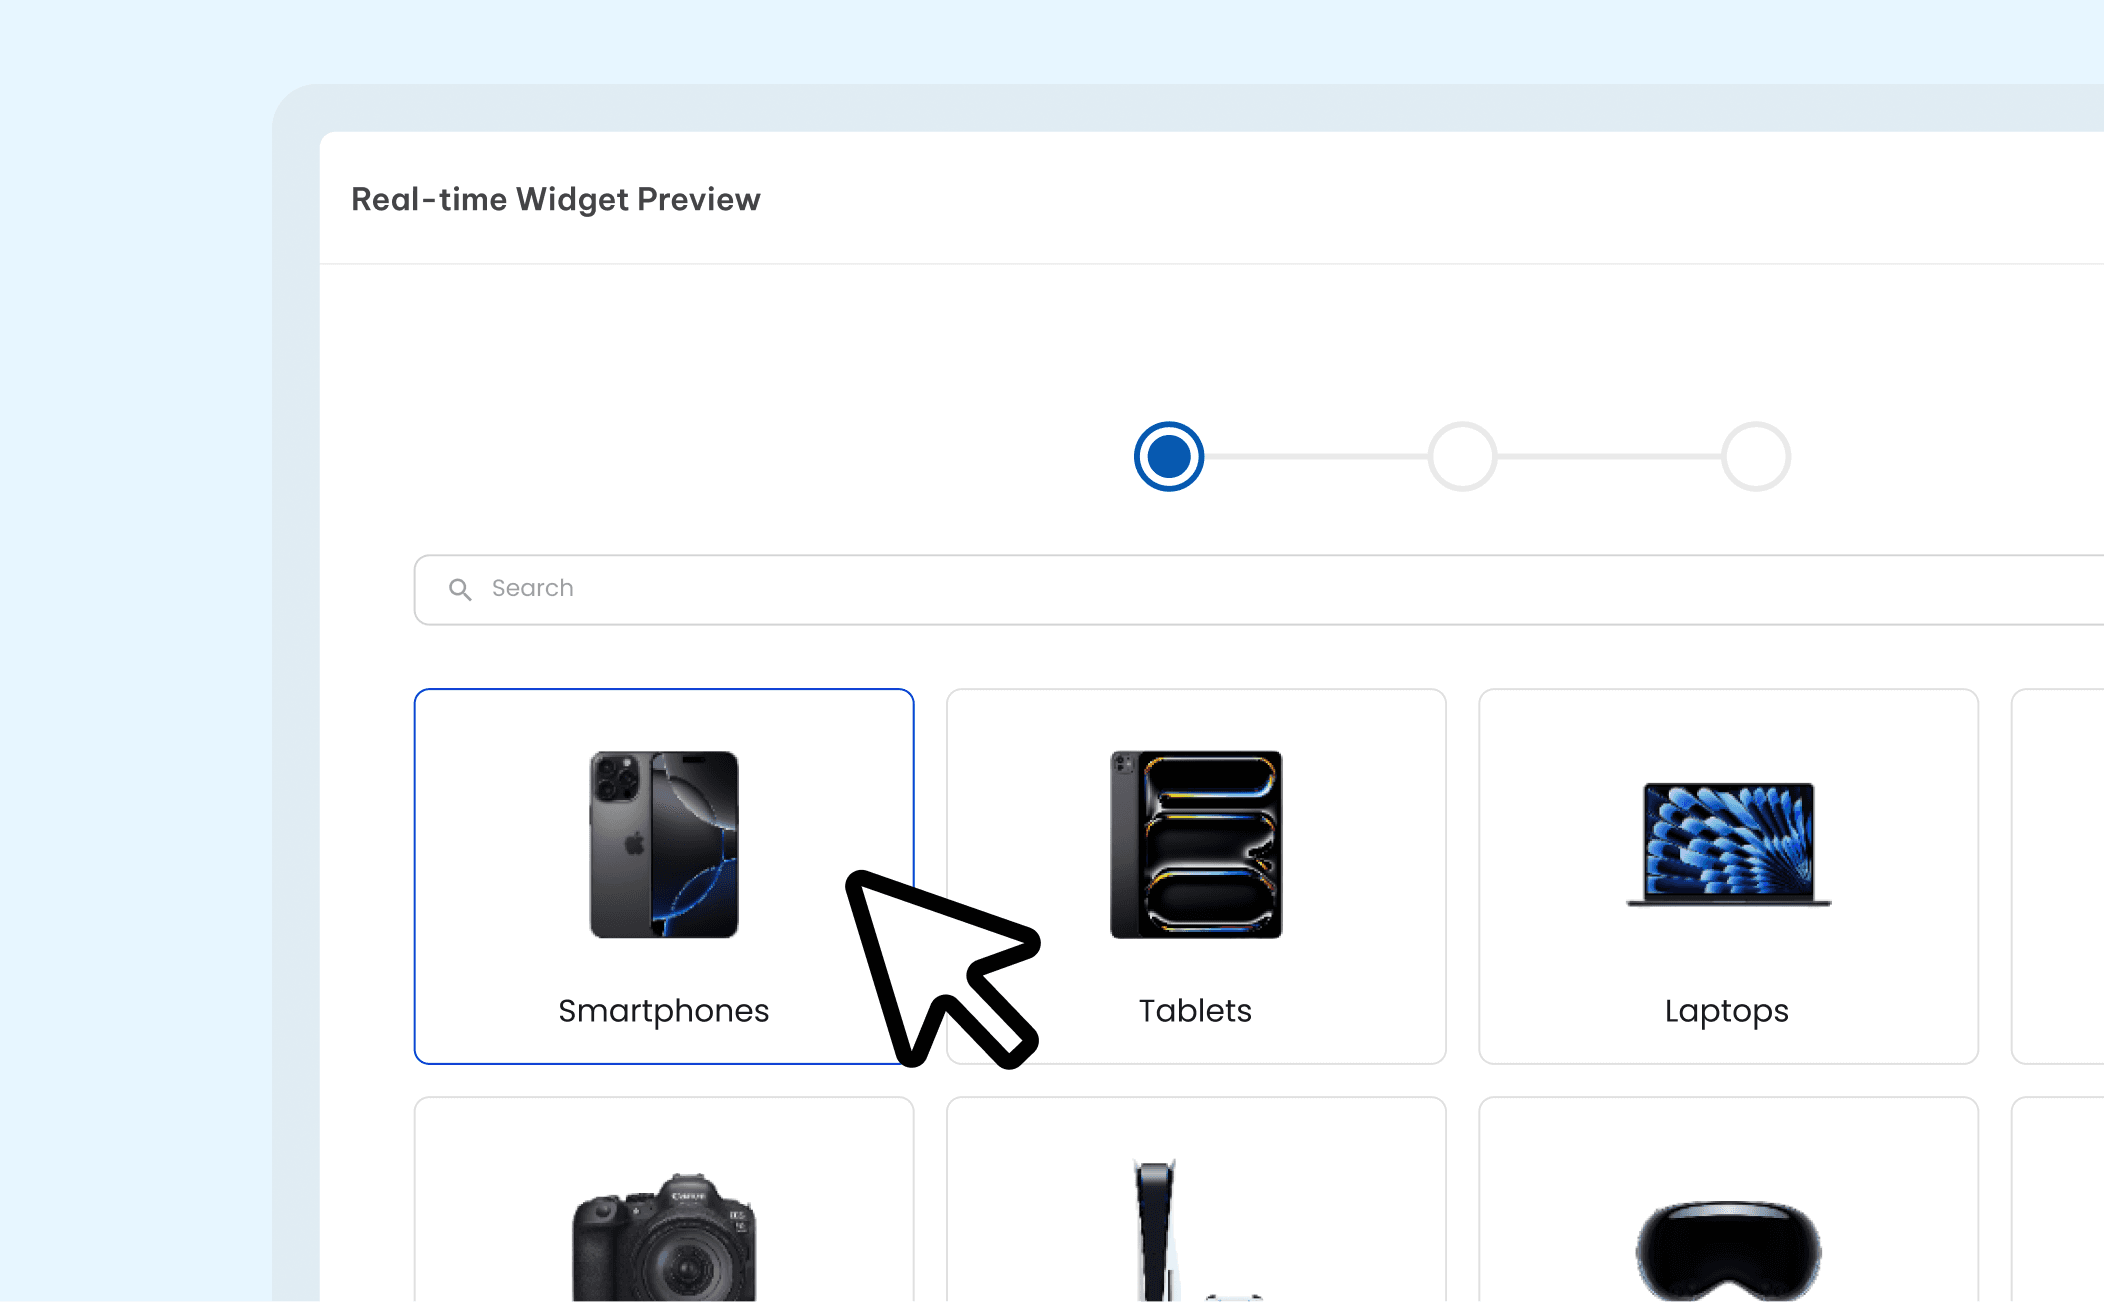
The customer-facing process should be short enough to finish but detailed enough to produce a useful estimate. Long terms-and-conditions forms can push customers away. Forms that are too simple usually move the problem to the inspection stage.
A basic online trade-in journey should let customers:
Find the exact product, model, and variant
Answer clear questions about condition and functionality
See an estimated offer and understand what may cause it to change after inspection
Choose a mail-in or store drop-off option
Submit their contact and payout information securely
Use questions customers can answer without technical knowledge. 'Is the screen cracked?' gives your business more useful information than 'Rate the cosmetic condition.'
Photos and short examples can also help customers tell the difference between light wear, visible damage, and a nonworking item.
The confirmation page should explain what happens next. Tell customers how to send or drop off the item, when your team will inspect it, how you will communicate the final offer after inspection, and when payout is expected. Clear expectations can prevent many of the follow-up messages that slow down your trade-in program.
Plan Mail-In and Store Drop-Off Options
Online trade-ins need a handoff process, and the handoff creates a new set of worries for both sides. Customers want to know whether the package arrives safely. Your business needs to know which package belongs to which trade-in submission.
Some customers may still prefer to start online and bring the item to your store, while others will expect to complete the entire process by mail.
Store drop-off is the simpler option. Your staff can match the submission to the product, inspect it with the customer present, and confirm the final offer before completing the trade-in.
On the other hand, mail-in trade-ins can reach customers outside your local area, but they add more steps.
Before offering mail-in, prepare:
A prepaid, trackable label connected to the correct trade-in submission
Packing instructions that protect the product during transit
Updates when the label is created, the shipment arrives, and inspection begins
A clear turnaround time for inspection and payout
A return policy for customers who decline the final offer
Create an Inspection and Final Offer Process

Inspection is where the estimated online offer meets the actual product. Since customers can’t watch your staff examine the item, the inspection should follow the same standards used in the online questionnaire.
Inspect the Item Consistently
Confirm the model and specifications first. Then test the functions that affect value, grade the cosmetic condition, and check for account or activation locks.
Record the results with notes or photos, especially when the final offer will be lower than the estimated offer.
Confirm the Final Offer
If the item matches the original description, confirm the estimated amount as the final offer and tell the customer when you'll send the payout.
If the final offer differs from the estimated offer, explain what your team found during inspection and why the value changed. Give the customer a clear way to accept the final offer or request the item’s return under your policy.
Keep Customers Updated and Learn From Mismatches
Customers should know when their trade-in is submitted, when the item is in transit or received, when inspection begins, when the final offer is ready, and when payout is moving forward. Clear updates reduce the need for customers to contact your staff just to ask what is happening.
Also track how often final offers differ from estimated offers. If the same condition issue causes frequent mismatches, the online questionnaire may need a clearer question, example, or photo.
Plan Where Your Trade-In Inventory Will Go
Online trade-ins can increase inventory faster than local trade-ins, but they can also bring in products that don’t fit your usual customers or resale channels. Without a plan, purchased items may sit on a shelf while their market value continues to fall.
Most businesses use several routes depending on the product:
Refurbish and resell products that fit your own market
Sell suitable inventory to a wholesale buyer when faster turnover matters
Recover usable parts from products that are not worth repairing
Send products with no resale or parts value to a responsible recycler
Set a holding period for each route and track the return on the items you purchase. If one category regularly sells too slowly or below the expected price, lower the online offer or pause that category until you have a better outlet.
Launch Your Online Trade-In Program With Reusely
You can build the six steps above with separate tools, but every handoff gives your staff another record to update. Product lists may live on the website, pricing in a spreadsheet, shipping in a carrier account, and inspection notes in email. That approach becomes harder to manage as more online trade-in submissions come in.
Reusely brings the online trade-in workflow into one platform. With the Buyback Widget feature, customers can identify their product, describe its condition, and receive an estimated offer directly from your website. Your team can then manage the trade-in as it moves through shipping or store drop-off, inspection, the final offer, payout, and purchased inventory.
Customers also get better visibility into the process through the Customer Portal. They can follow their trade-in as it moves forward instead of relying on your staff for every status update, while your team keeps the transaction and its records connected in Reusely.
For businesses launching an online trade-in program for the first time, Reusely Core offers a low-cost way to test and validate the channel before scaling further. Starting at $99 per month, Core includes two locations and unlimited trade-in transactions with no per-trade-in platform fees.
Reusely Core also includes the fundamental tools needed to run the program, such as the Buyback Widget, Customer Portal, catalog and pricing tools, offer and inventory management, API access, webhooks, and data feeds.
You can start with the infrastructure needed to run online trade-ins, learn how customers use the program, and move to a more advanced plan when you need additional locations or capabilities.
Explore Reusely Pricing for full plan details, or book a demo to see how Reusely can support your online trade-in program.






" width="1304.414px"/></svg>)